It is true when they say, “If you take care of your kayak, then your kayak will take care of you.” The off-season is the ideal time to spent quality time with your boat, before you put it away for the season. We are often too busy during the paddling season to address the little things on your boat that need attention, but now is the time to get to it. Then when spring comes, you and your kayak can just hit the water!
Here is a checklist of items you want to address when winterizing your kayak.
Check all of the deck rigging. Look for bungees that are losing their stretchiness, have nicks or whose ends are fraying. Frayed ends can be fixed, but you need to replace otherwise damaged bungees. Check the deck hardware for UV damage, especially the plastic ones, and replace if necessary. Check that your perimeter line still has ‘nice hand’ and is not too tight in its hardware – you should be able to easily slip your gloved hand between the line and the deck.
Check your rudder or skeg system. Examine all of the cables and crimps, and fix any parts that need it now, before they fail ‘at sea.’ Apply a lubricant to pivot points and down the cable housings. If the pedal system uses bungees, loosen the system so the bungee can relax and will stay stretchy for longer. If you are too late, replace the bungee.
Clean out your cockpit. Remove the seat (I know, it’s a pain!) and remove any sand and other crap that has accumulated – use pressurized air to really clean it out, especially the pedal system. Any of that crap can cause you seat system or pedal system to seize up, so get it out of there now. Wash away stains and caked on grime. Apply a UV stabilizer. Lubricate the pedal system’s moving parts. Check all the cords/ratchets/knobs/whatever of your seat adjustment system to make sure it is all in good shape – just thinking about paddling a long distance without a working seat back should motivate you to be fastidious.
Check your hatches. Clean out any sand/bugs/gunk that has accumulated. Let that bilge sponge dry out for the first time all year (you know the one) and find another place for the throwbag or first aid kit you keep in there all season. If your hatches use neoprene seals and a hard top, release the neoprene (so it retains its stretchiness) and loosely close the hard top. If your hatches use a rubber gasket, loosely close the hatch cover so the gaskets stay spongy. If you are worried about winter bug or mice problems, cover the hatches and cockpit with screen-door material held in place by beefy elastic or a piece of bungee.
Inspect the hull for dings and scratches (or worse!). On a composite or thermoformed boat, scratches can be polished so you have a smoother hull – it looks better and is more efficient in the water. Poly boats will usually have curlicues hanging on where the hull has been scratched. Shave them off with a sharp knife and use it to soften the edges of deep gouges to improve efficiency and appearance. But be careful not to damage the hull further. Apply a UV stabilizer, and if it is a plastic boat, make sure it has plasticizers in it to keep your kayak looking youthful.
If you would rather not winterize your kayak yourself, Undercurrents offers that service for $79. Double kayaks are $99. Canoes and SUPs are $49. Any necessary parts are extra, but we’ll call you first.
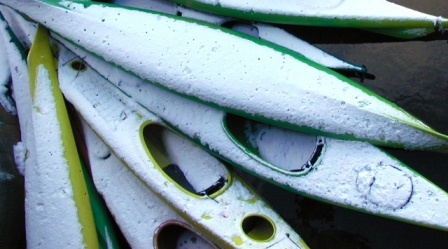
Once winterized, you kayak can be stored right side up, up side down or on its side. It is best to support it at or near the bulkheads, because that it the strongest part of the boat. Strap systems work great, because they spread the pressure throughout a greater surface area! And whatever you do, do NOT suspend it from the ends! Cold storage will not affect your kayak; just don’t test your new sledgehammer on it at -40 degrees. It is best if you store it out of the sunlight. And, if it is outside in the snow, brush it off before the snow load is sufficient to dent or crush your kayak. Don’t snicker, it happens!

